只需一步,快速开始
热门: 51单片机 | 24小时必答区 | 单片机教程 | 单片机DIY制作 | STM32 | Cortex M3 | 模数电子 | 电子DIY制作 | 音响/功放 | 拆机乐园 | Arduino | 嵌入式OS | 程序设计
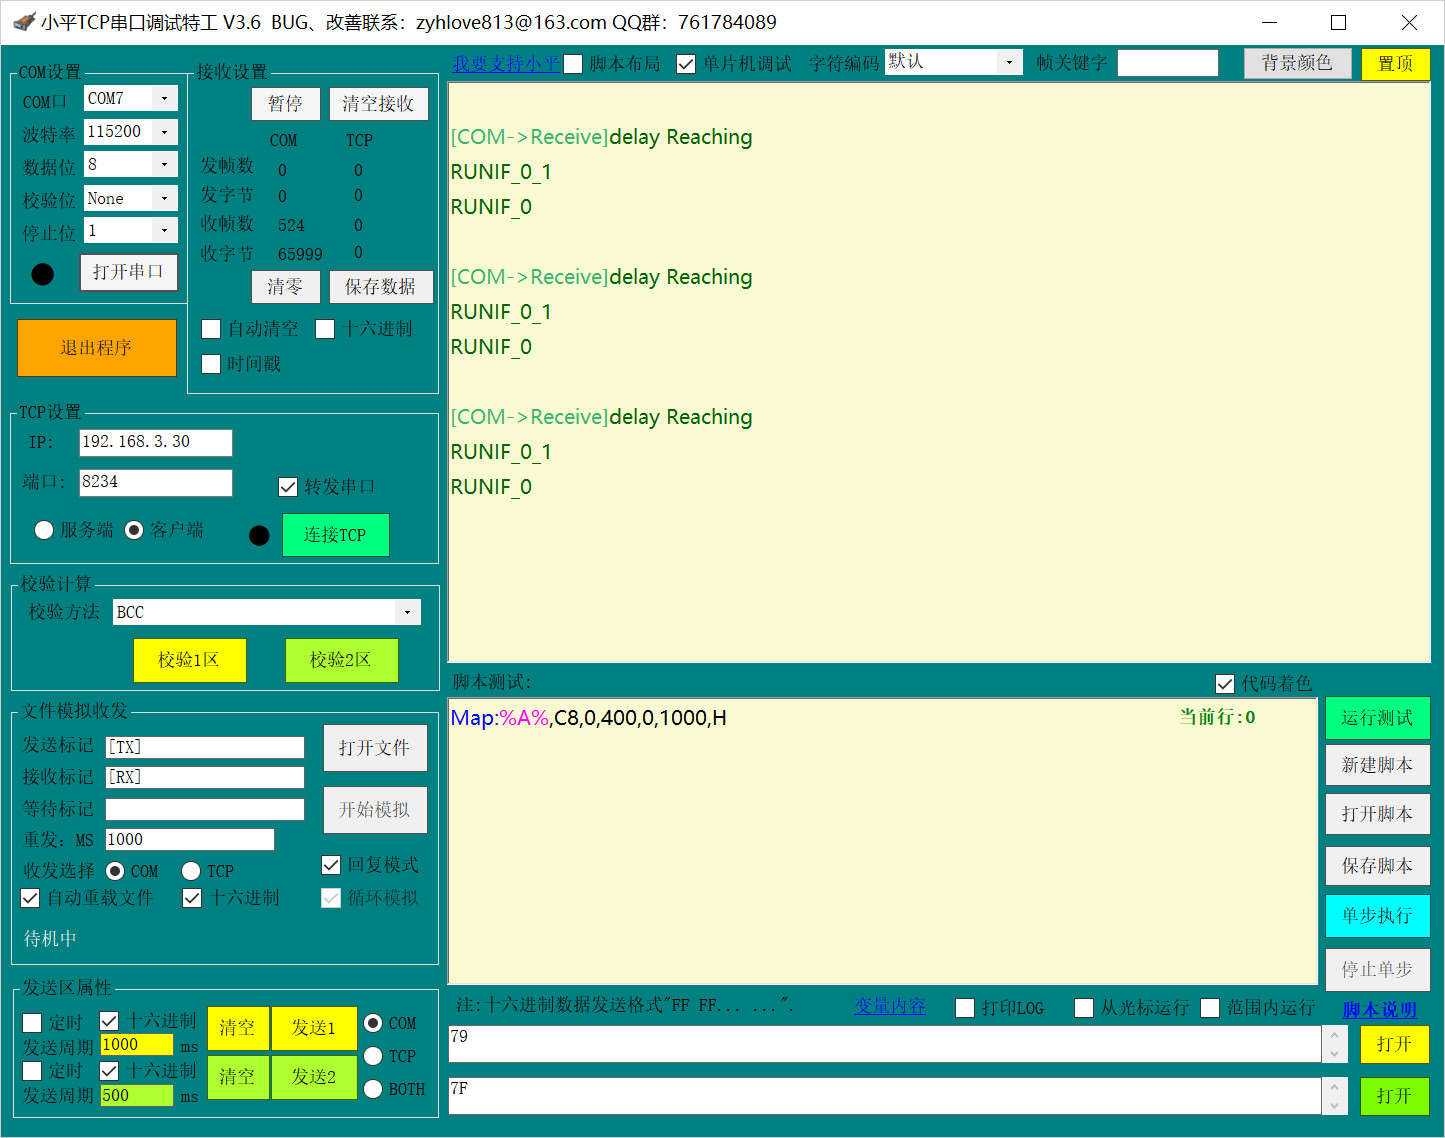
单片机程序中,如果没有上RTOS,遇到延时delay和while时,往往程序就阻塞在该处,造成除了中断之外的函数无法执行。 为了解决这个问题,我想到了一种一种非阻塞式的函数框架,既然delay和while造成的,我们就想办法 ...
a185980800 发表于 2024-9-27 18:20 可以了解一下protothreads协程。结构简单消耗也小。关键是调用结构就是一般的函数结构容易接受
小黑屋|51黑电子论坛 | 管理员QQ:125739409;技术交流QQ群281945664
Powered by 单片机教程网
 收藏
收藏 顶
顶 踩
踩

