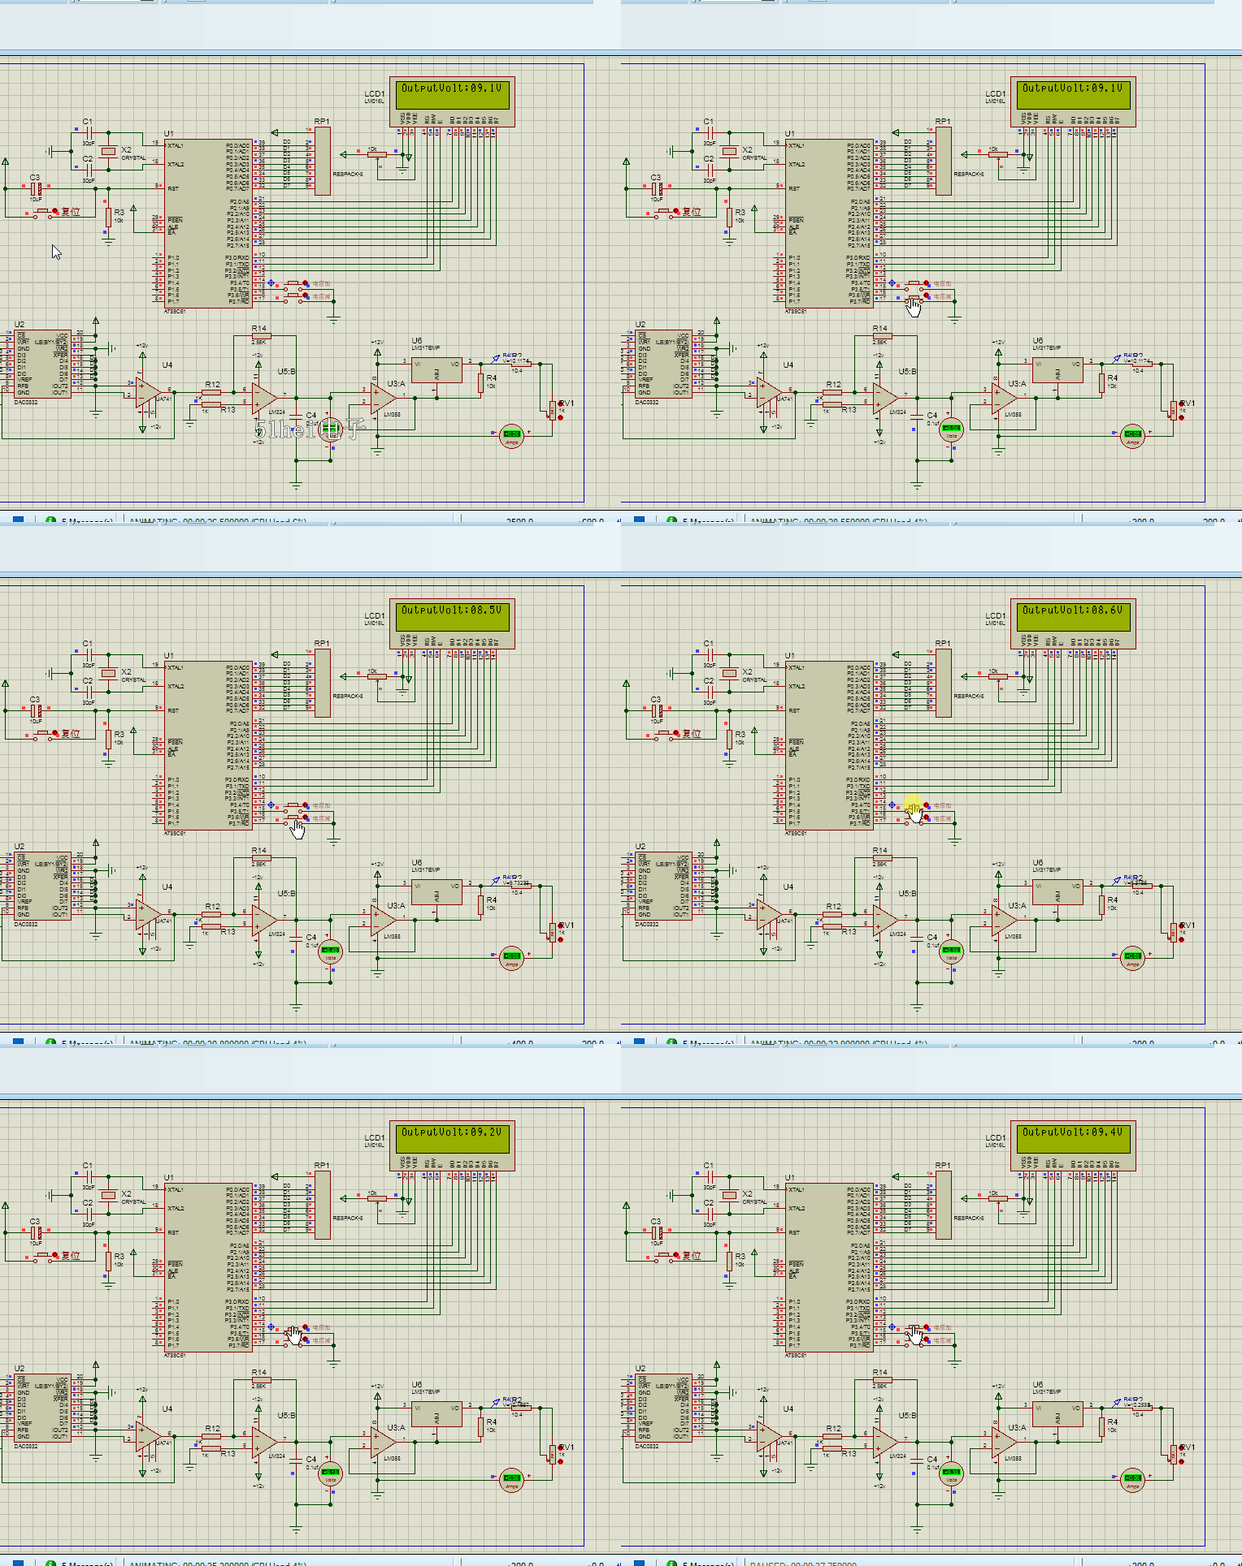
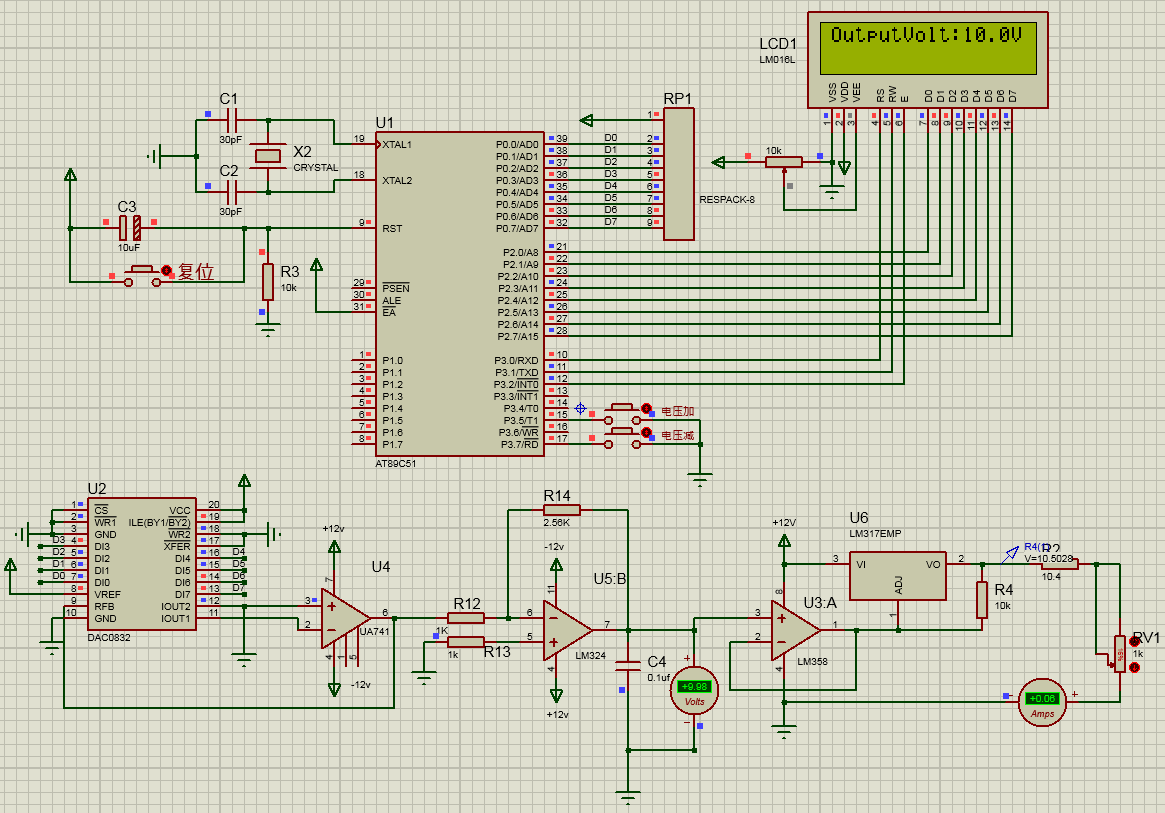
仿真原理图如下(proteus仿真工程文件可到本帖附件中下载)


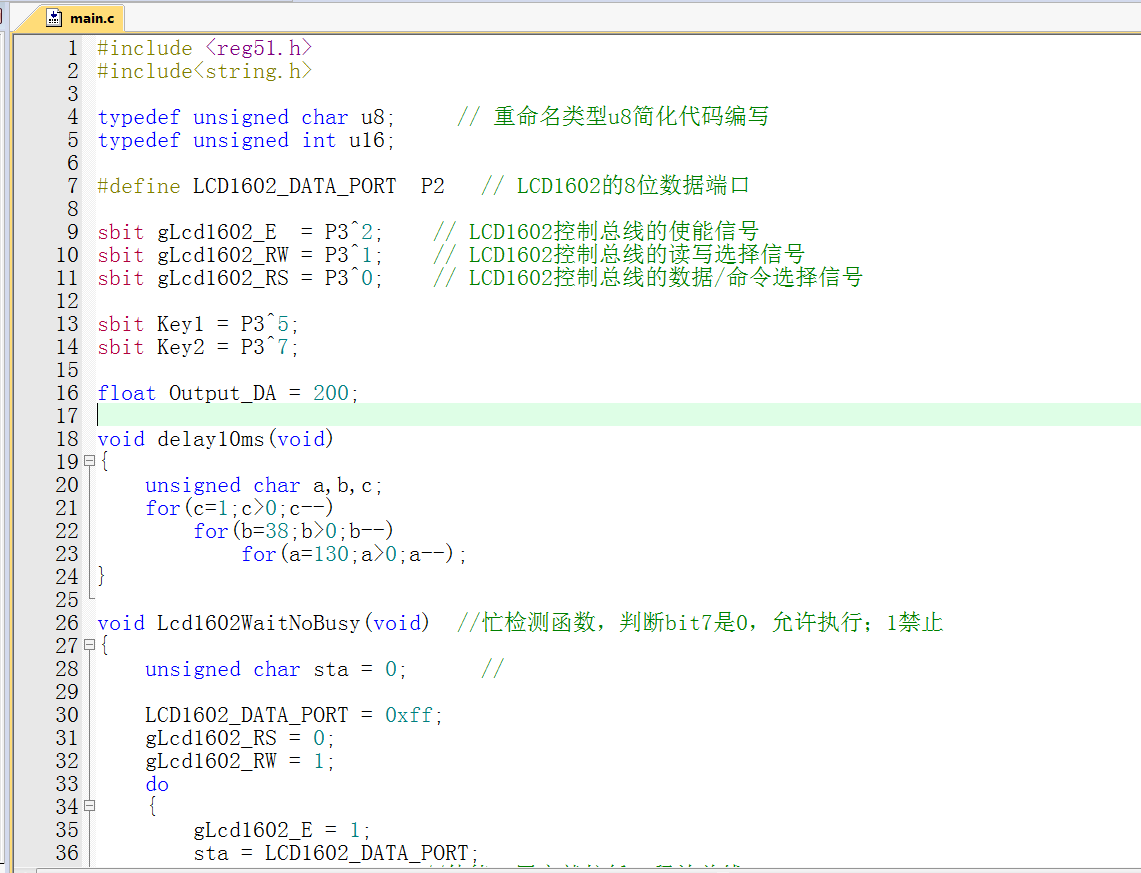
单片机源程序如下:
- #include <reg51.h>
- #include<string.h>
- typedef unsigned char u8; // 重命名类型u8简化代码编写
- typedef unsigned int u16;
- #define LCD1602_DATA_PORT P2 // LCD1602的8位数据端口
- sbit gLcd1602_E = P3^2; // LCD1602控制总线的使能信号
- sbit gLcd1602_RW = P3^1; // LCD1602控制总线的读写选择信号
- sbit gLcd1602_RS = P3^0; // LCD1602控制总线的数据/命令选择信号
- sbit Key1 = P3^5;
- sbit Key2 = P3^7;
- float Output_DA = 200;
- void delay10ms(void)
- {
- unsigned char a,b,c;
- for(c=1;c>0;c--)
- for(b=38;b>0;b--)
- for(a=130;a>0;a--);
- }
- void Lcd1602WaitNoBusy(void) //忙检测函数,判断bit7是0,允许执行;1禁止
- {
- unsigned char sta = 0; //
- LCD1602_DATA_PORT = 0xff;
- gLcd1602_RS = 0;
- gLcd1602_RW = 1;
- do
- {
- gLcd1602_E = 1;
- sta = LCD1602_DATA_PORT;
- gLcd1602_E = 0; //使能,用完就拉低,释放总线
- }while(sta & 0x80);
- }
- void Lcd1602WriteCmd(unsigned char cmd)
- {
- Lcd1602WaitNoBusy(); // 先等待LCD1602处于不忙状态
- gLcd1602_E = 0; // 禁止LCD
- gLcd1602_RS = 0; // 选择发送命令模式
- gLcd1602_RW = 0; // 选择写入模式
- LCD1602_DATA_PORT = cmd; // 将1字节命令字放入8位并行数据端口
- gLcd1602_E = 1; // 使能LED
- gLcd1602_E = 0; // 禁止LCD
- }
- void Lcd1602WriteData(unsigned char dat)
- {
- Lcd1602WaitNoBusy(); // 先等待LCD1602处于不忙状态
- gLcd1602_E = 0; // 禁止LCD
- gLcd1602_RS = 1; // 选择发送数据模式
- gLcd1602_RW = 0; // 选择写入模式
- LCD1602_DATA_PORT = dat; // 将1字节命令字放入8位并行数据端口
- gLcd1602_E = 1; // 使能LED
- gLcd1602_E = 0; // 禁止LCD
- }
- void Lcd1602SetCursor(unsigned char x,unsigned char y) // 坐标显示
- {
- unsigned char addr = 0;
- switch (y)
- {
- case 0: // 上面一行
- addr = 0x00 + x; break;
- case 1: // 下面一行
- addr = 0x40 + x; break;
- default:
- break;
- }
- Lcd1602WriteCmd(addr | 0x80);
- }
- void Lcd1602ShowStr(unsigned char x, unsigned char y, unsigned char *pStr) //显示字符串
- {
- Lcd1602SetCursor(x, y); //当前字符的坐标
- while (*pStr != '\0')
- {
- Lcd1602WriteData(*pStr++);
- }
- }
- void Lcd1602Init(void)
- {
- Lcd1602WriteCmd(0x38); // 按照数据手册的初始化时序,先发送38H
- delay10ms(); // 延时10ms
- Lcd1602WriteCmd(0x38); // 按照数据手册的初始化时序,先发送38H
- delay10ms(); // 延时10ms
- Lcd1602WriteCmd(0x38); // 按照数据手册的初始化时序,先发送38H
- delay10ms(); // 延时10ms
- Lcd1602WriteCmd(0x38); // 显示模式设置
- Lcd1602WriteCmd(0x08); // 关闭显示
- Lcd1602WriteCmd(0x01); // 清屏(同时清数据指针)
- Lcd1602WriteCmd(0x06); // 读写后指针自动加1,写1个字符后整屏显示不移动
- Lcd1602WriteCmd(0x0c); // 开显示,不显示光标
-
- Lcd1602ShowStr(0,0,"OutputVolt: V");
- }
- /*************** 显示函数 *************************************************/
- void Write_Volt(unsigned char hang,unsigned char add,unsigned int date) //用于显示
- {
- if(hang==1)
- Lcd1602WriteCmd(0x80+add);
- else
- Lcd1602WriteCmd(0x80+0x40+add);
- Lcd1602WriteData(0x30+date%1000/100); //显示百位
- Lcd1602WriteData(0x30+date%100/10); //显示十位
- Lcd1602WriteData('.'); //显示.
- Lcd1602WriteData(0x30+date%10); //显示个位
- Lcd1602WriteData('V'); //显示字母V
- }
- void Out_Volt(unsigned char Volt)
- {
- P0=Volt;
- }
- void main()
- {
- Lcd1602Init();
- while (1)
- {
- Out_Volt(Output_DA);
-
- if (Key1 == 0)
- {
- delay10ms();
- if (Key1 == 0)
- {
- if(Output_DA < 200) Output_DA += 2;
- }
- while(!Key1);
- }
- if (Key2 == 0)
- {
- delay10ms();
- if (Key2 == 0)
- {
- if(Output_DA >= 2) Output_DA -= 2;
- }
- while(!Key2);
- }
-
- Write_Volt(1,11,Output_DA/2.0);
- }
- }
Keil代码与Proteus仿真下载:
 电压源DAC0832-1602-LM317.zip
(144.66 KB, 下载次数: 104)
|